Step 3. Create Quote Forms
The quotation form will be displayed once your client clicks the Request a Quote button on your website.
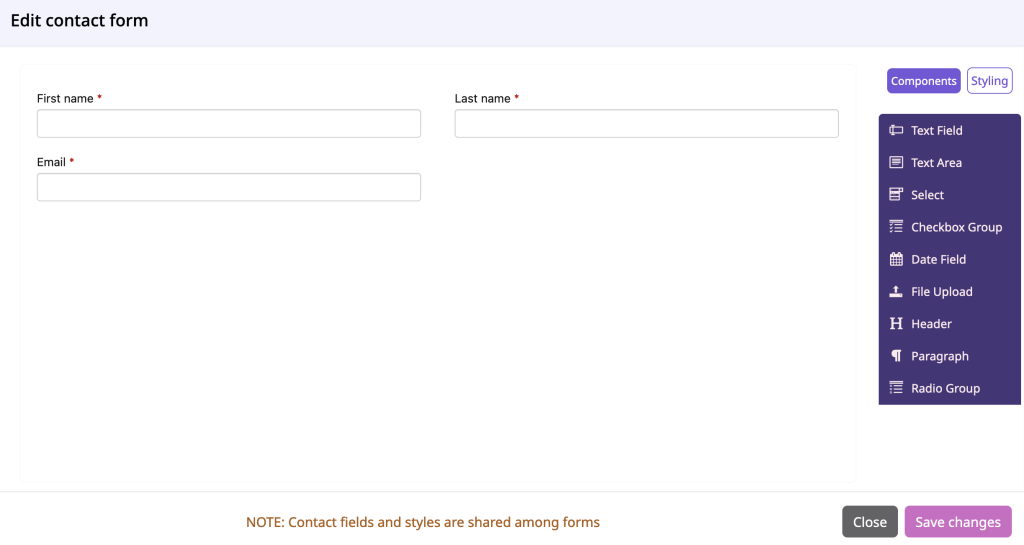
In the Forms tab you will see the Contact Form already created. It includes all the contact data that you need from your customer, like customer name and email address. The email address is a mandatory field, as your customer needs to provide it for communication.
You can edit and modify this form as per your needs. It always displays last, when your customer adds all products to the quote request. There is only one Contact Form that is shared across all Product Forms.
If you want to ask your customers any product specific questions, there is a Product Form available as well. You can create as many Product Forms as needed and then assign it to a product. Product can be any physical product, service, page or blog post. The Product Form is optional.
Watch the below video to learn more about Product Forms:
You can edit and clone the Product Forms for quicker work, or simply create a brand new form by clicking on the + New product form button.
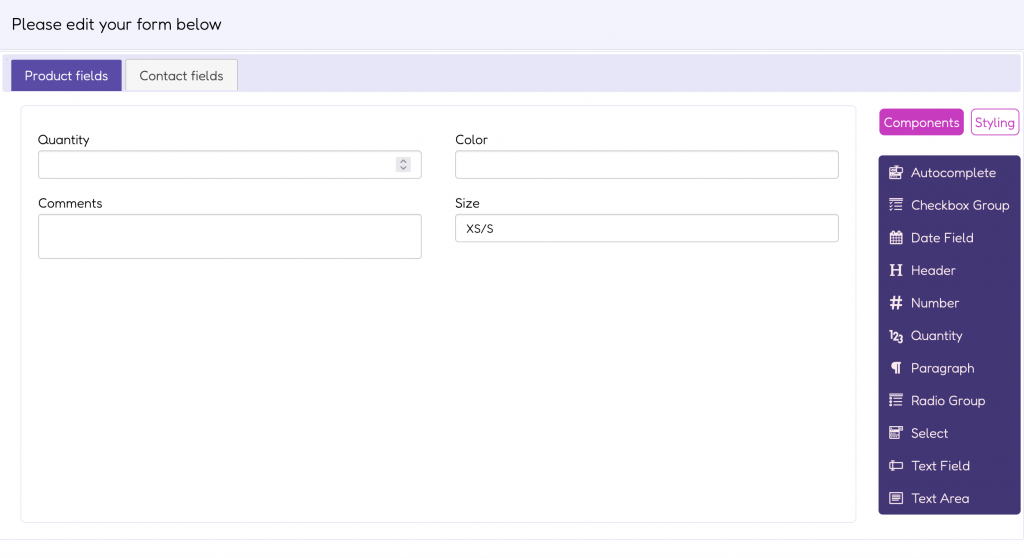
The Product Form also includes a Contact Form tab. When your customer completes a quote request, the Product Form assigned to each product will display first. Customers can add multiple products to the quote request, completing a unique Product Form for each product. Once all products are added, the final step will be the Contact Form. After completing this form, the quote request can be submitted.
Each form has 9 modules on your right hand side that you can use to create the form content. In order to add a field simply drag a module and drop it on your left. Read more about managing forms here.